
 Print
Print
|
|
|
Advanced Editor Toolbar Buttons
The following tables show the toolbar buttons:
Copy formatting
Use the following button to apply styles to text.
Bold
|
Italic |
Underline |
Insert special character
|
Font family
|
Font size |
Text color |
Text background color |
The special characters you can enter include the following:

When you use the HTML Source Editor to edit text, enable Word wrap to be able to see the content without scrolling; this has no effect on the content.
Paragraph formatting
Use the following buttons to apply styles to paragraphs.
Align left
|
Align center |
Align right |
Align justify |
Paragraph format
|
HTML Lists
Use the following buttons to create and modify lists.
Bulleted list |
Numbered list |
Actions
Use the following buttons to perform common actions.
Undo most recent action
|
Redo most recently canceled action |
Edit HTML source |
|
Preview content in a browser |
Toggle between full screen and partial screen display
|
Links
Use the following buttons to create and remove links.
Insert or edit a link |
Remove the link from the selected text
|
When you insert a link, you specify the URL, the report name, and the categories to associate with the link. The report name is the report that tracks the effectiveness of the link in eReports. You can also disable reporting on the link.
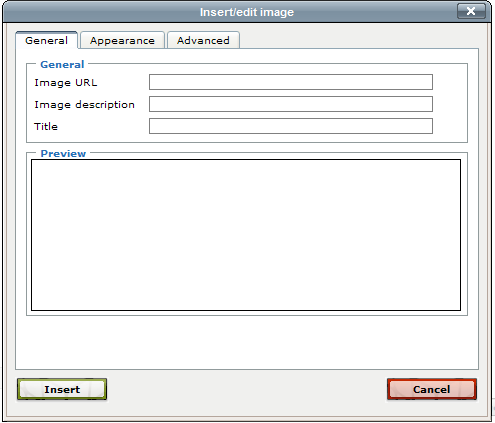
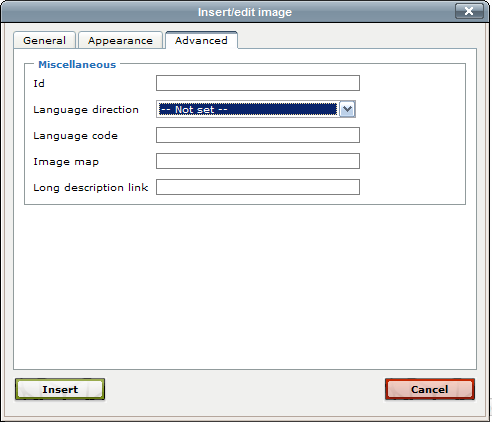
Images
Insert or edit an image |
You can specify the appearance of the image, including alignment, size, the amount of space around the image, whether there is a border around the image, and how text appears around the image.

Tables
Use the following buttons to create and modify tables.
Insert a new table
|
Set table row properties |
Set table cell properties
|
Insert a row before the current row
|
Insert a row after the current row |
Delete the current row |
Insert a column before the current column
|
Insert a column after the current column |
Delete the current column |
Split merged table cells
|
Merge table cells |
When you insert a table, you can specify the number of columns and rows as well as the appearance of the table.
Splitting merged table cells restores the table structure to its previous state, but does not return cell contents to the previous state.
Print