 Print
Print
Configuring a Quick Test Cell
To configure a quick test cell:
- Create a new mailing to contain a Quick Test cell. This step is optional but recommended for reporting purposes.

- Create a new cell.

This cell is called the Quick Test master cell and is differentiated from other cells in lists by a special icon:

- Fill in the Configuration tab.

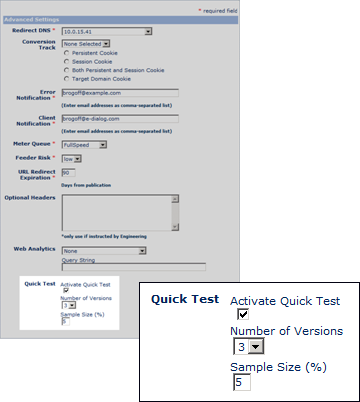
- In Advanced Settings, check Activate Quick Test:

- Specify the number of versions to test. This number applies to all quick test symbols within the cell and represents the number of possible values for each symbol controlled by the quick test.
- Specify the size of the test audience as a percentage of the full audience (1 to 99). Each version is sent to an equal share of the test audience.
For example, suppose that your sample size is 5% of 100,000 = 5,000 recipients. With three test versions, each version goes 1.67% of 100,000 = 1667 recipients. (Fractional recipients are rounded off.)
Best Practices: A test audience should include at least 10,000 recipients when basing your test results on metrics such as open rate and click rate. Use a larger test audience when using relatively infrequent metrics such as conversions and unsubscribes.

 Print
Print